Your first mount
Go from a sleeve and a few measurements to an editable mount and an STL for your slicer.
On this page
Before you beginChoose a starting pointSet up the mountSave the editable designExport and test fitTry another toolBefore you begin#
Get the appropriate build from the Mount Maker itch.io page. Beta 0.9 targets Windows x64. Extract the complete download into a folder you can write to; keep its accompanying folders and files together. The app uses its local UserLibrary folders to store reusable sleeves and drone profiles.
Have your frame, camera, and measuring tools nearby. Measure between hole centers, rather than the outside edges of the holes. You will need the front and rear bolt widths, spacing between the rows, and the hole diameter you want to print.
Choose a starting point#
Open Choose sleeve to browse the prepared sleeve library. Use the name search or camera filter, select a sleeve, and read its compatibility and attribution before choosing Use sleeve. A compatibility label is supplied by the sleeve author; check it against your exact camera.
If the library is empty, import a sleeve STL or OBJ and follow Preparing a sleeve. Both formats are interpreted in millimeters, without automatic scale conversion.
Set up the mount#
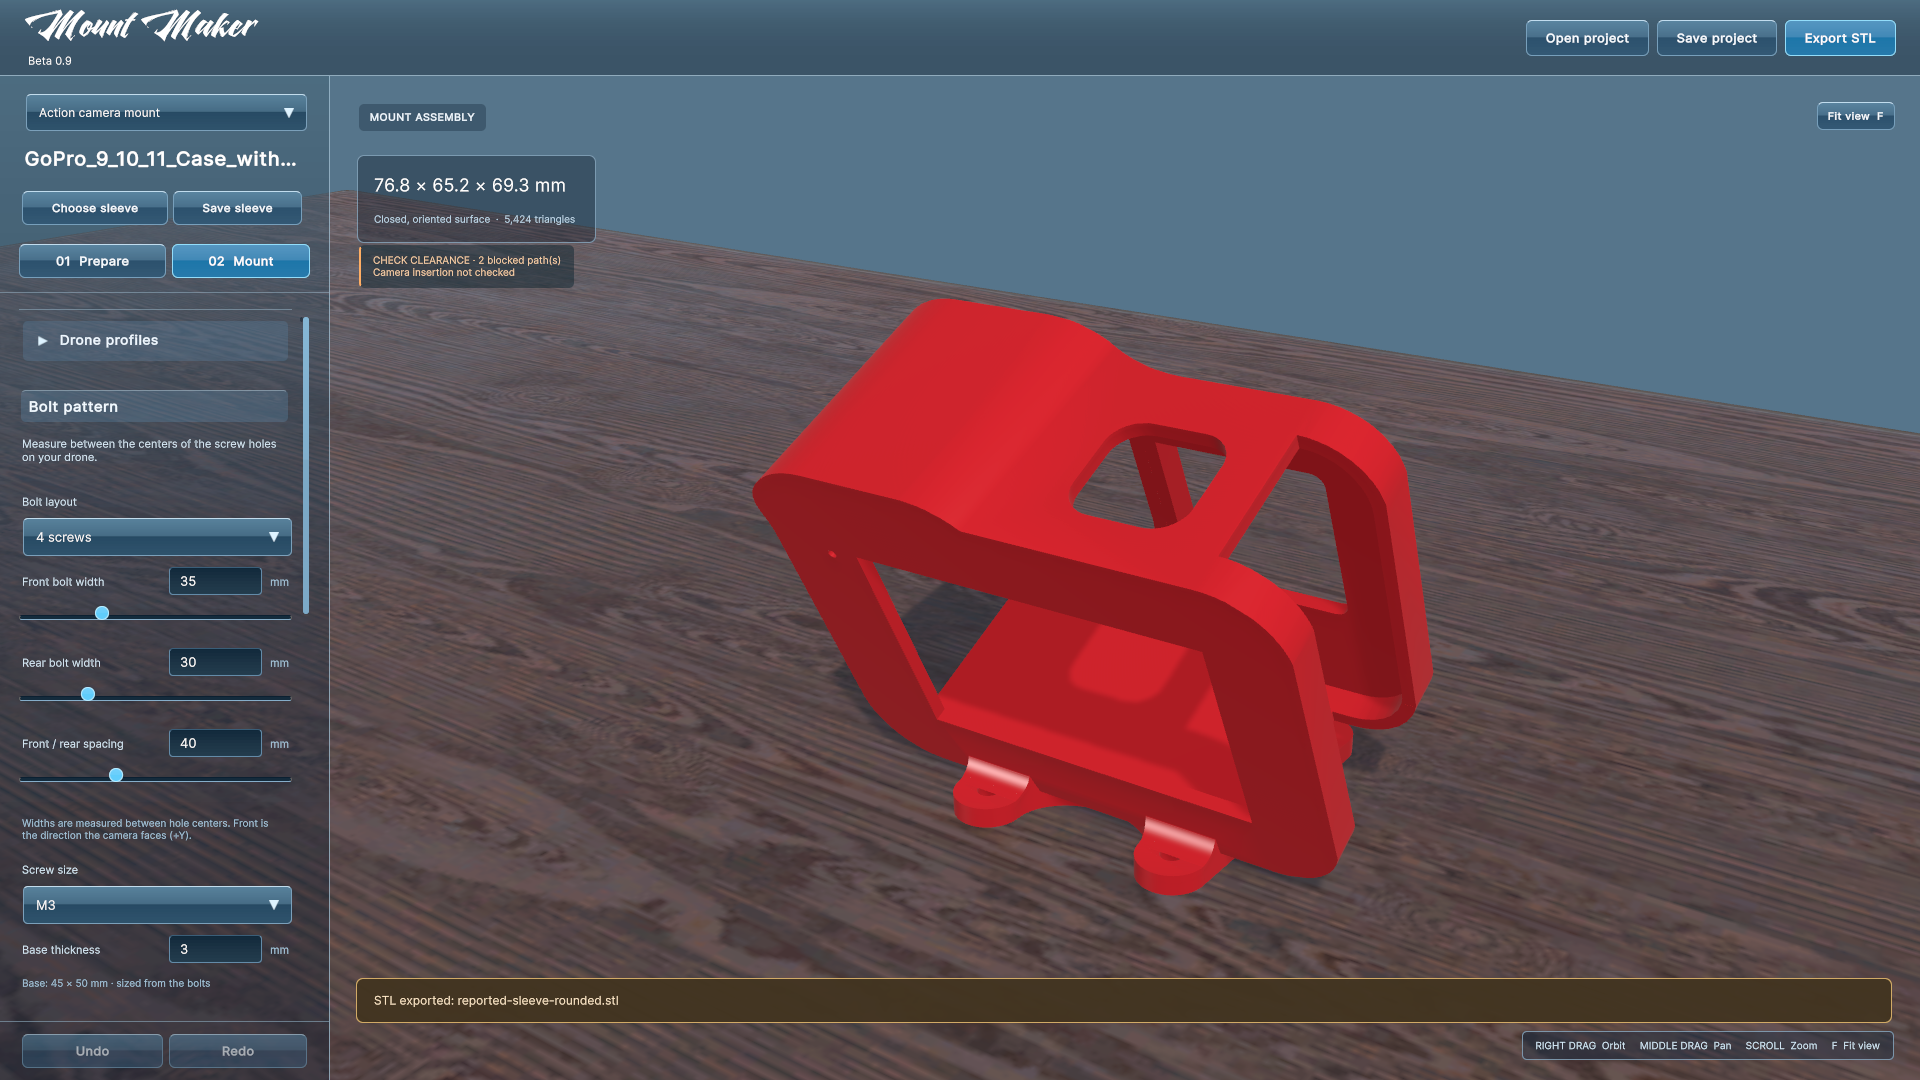
- Choose Action camera mount in the design selector, then open 02 Mount.
- Select the screw layout and enter the frame's center-to-center measurements. Four-bolt patterns have separate Front bolt width and Rear bolt width controls.
- Choose M2, M2.5, M3, or a custom hole size. Check the actual clearance your hardware and printing process need.
- Adjust Angle. The live preview shows how the sleeve sits on the base.
- Use Lift above base only if needed. Rest sleeve on base returns it to zero lift.
- Inspect the model from above, below, and both sides. Use the fit and clearance options for the paths that matter to your installation.
Save the editable design#
Choose Save project and give the design a useful name. A .mmproject keeps the source geometry, preparation, dimensions, and project details together. It can be moved to another computer without the original source STL.
Save sleeve serves a different purpose: it stores a reusable prepared sleeve, without the generated mount base. See Projects & sharing for the file types.
Export and test fit#
Wait for the latest valid geometry to finish, then choose Export STL from Mount. Open the STL in your slicer and confirm its dimensions, orientation, walls, and supports. Save an editable project as well as the STL.
A successful export means the geometry passed the app's export checks. It does not establish print quality, camera retention, or strength. Make a physical test print and check it against your hardware before using it on a flight build.
Try another tool#
The design selector also contains FPV camera soft mounts, rear antenna mounts, electronics trays, and arm feet from photos. These tools generate their geometry from measurements; they do not need a sleeve STL.
Something unclear? Let us know.